Overview
The QA Display visualizes Signal metrics (e.g, spectrum plot, waterfall plot etc.) received from the QA Data API via WebSockets, in real-time.
For how to set up and run the display, see Running the QA Display. For deployment and integration with the QA Data API and the full SDP system, see Integration with QA Data API and SDP System. For interpreting the metrics, see Configuration and Statistics, Available Graphs, and External Dashboards.
More information of the API can be found in the QA Data API Docs.
Main Interface

This is the main page when the interface is opened. The graphs have been split up into various menu sections.
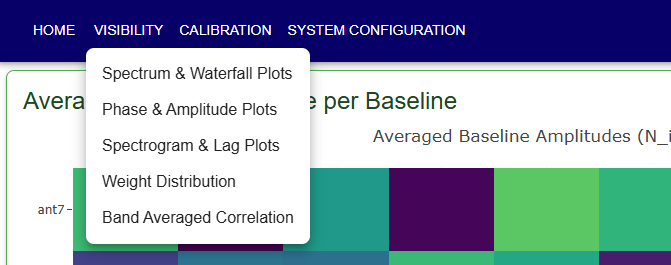
The Visibility Receive graphs are all grouped under VISIBILITY:
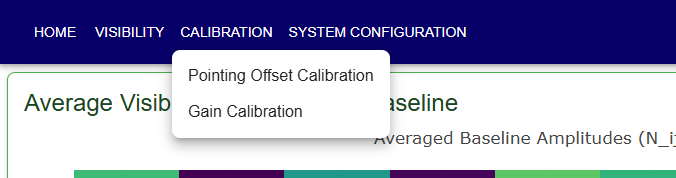
The Calibration plots are under CALIBRATION:
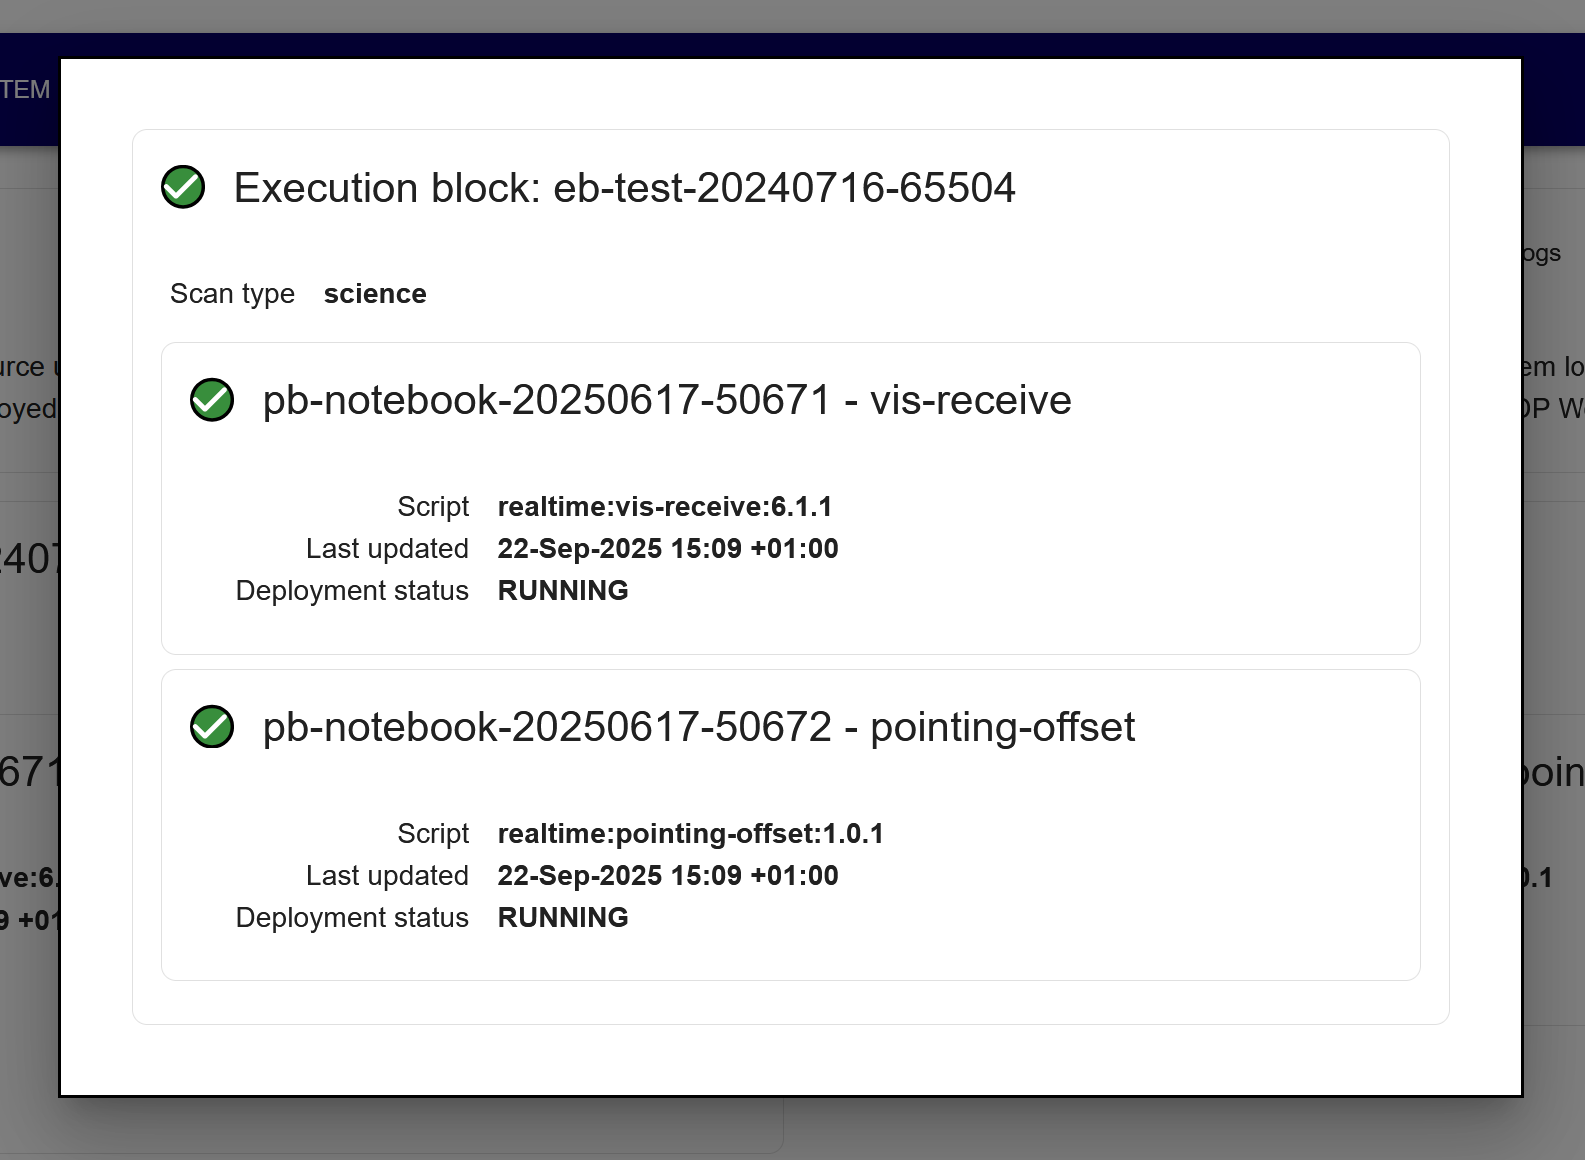
The currently running observation can be viewed by clicking on OBSERVATION INFORMATION in the
header bar. And will show the following modal:
Legend
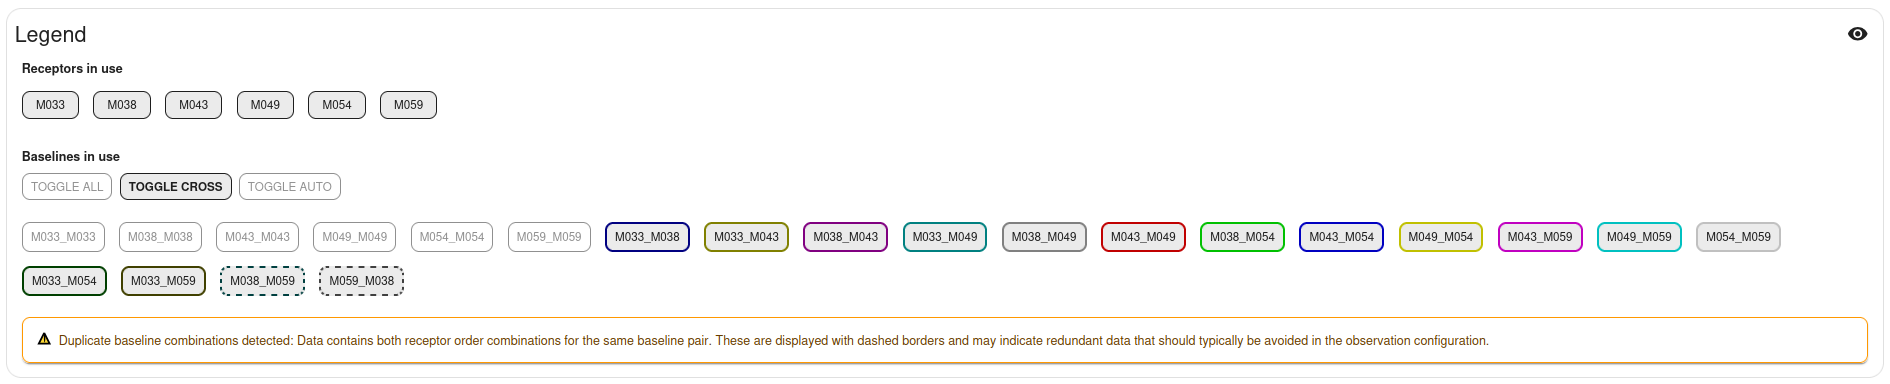
The Legend component provides an overview of the receptors and baselines currently in use during the observation. It appears on the pages where multiple baseline data is being displayed and can be collapsed or expanded using the toggle button. The legend builds its display based on baselines found in the incoming data and maintains its state as you navigate between pages. By default, baselines representing cross-correlations are active in the legend, whilst auto-correlations are deselected.
The legend displays two types of information:
Receptors in use: Shows buttons for each active receptor. Click on a receptor button to toggle its visibility in the graphs.
Baselines in use: Displays a set of global toggles for controlling all baselines, the cross-correlations, and the auto-correlations. Additionally, shows buttons for each baseline, color-coded to match the corresponding data in the visualizations. Click on a baseline button to toggle its visibility. If the data contains both receptor combinations for the same baseline pair (e.g., both SKA001_SKA002 and SKA002_SKA001), these baselines are shown with dashed borders and a warning message is displayed. This indicates that the data contains redundant baseline combinations that should typically be avoided in the observation configuration.
Active (visible) items are shown with bold borders and higher opacity, while inactive (hidden) items appear dimmed.
Screenshot Capture
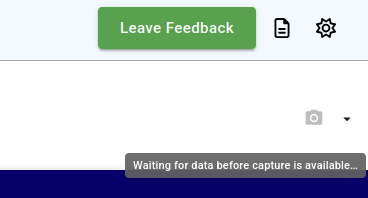
The toolbar contains a camera icon button that lets you save the current page or all pages as PNG images.
Note
The button is disabled until the page has received data from the QA Data API. A tooltip indicates the current state: Waiting for data…, Capture current page, or Capturing….
Capturing the current page
Click the camera icon to capture a full-height screenshot of the currently visible page.
All plot data and the legend are included, even content that is below the fold. The image is
downloaded immediately as a .png file.
Capturing all pages
Click the small drop-down arrow (▾) to the right of the camera icon and select Capture all pages (ZIP).
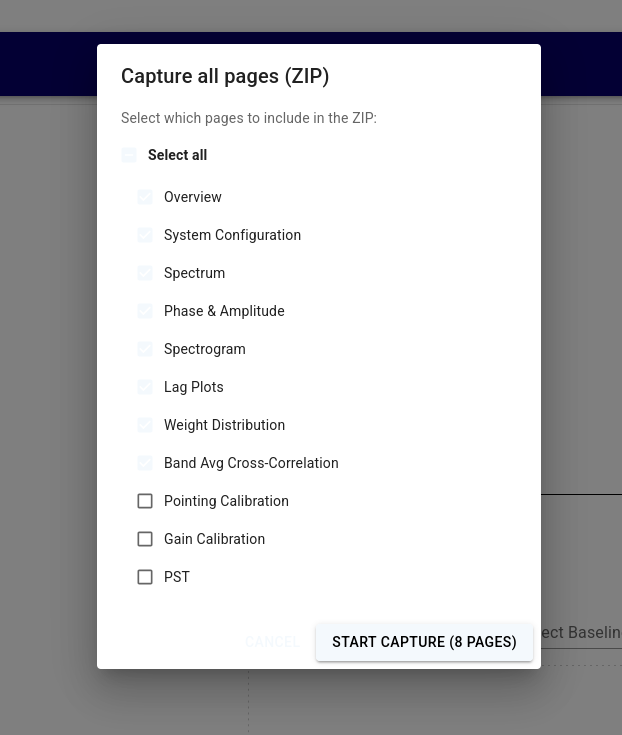
A dialog will appear listing all available pages with a checkbox next to each one. Your selection is saved automatically and will be remembered the next time you open the dialog. Use the Select All / Deselect All toggle at the top to quickly change all entries at once.
Click Start Capture (N) (where N is the number of selected pages) to begin. The display will automatically navigate to each selected page, wait for its data to load and all plots to finish rendering, then take a screenshot before moving on.
While the capture is running a progress dialog shows the current page name and a progress bar. The
capture cannot be cancelled once started. When complete, a timestamped ZIP archive
(qa-display-all-pages-<timestamp>.zip) containing one PNG per page is downloaded automatically,
and the display returns to the page you were on before starting.