Emulator Development Using the FW-Dev Container
To help facilitate development of the fw emulators a development container has been created that contains all the tools necessary in order to successfully build a new emulator block.
The dev container comes with the following:
GCC / G++ 12
Python 3.12
Poetry
A pre-cloned
ska-mid-cbf-emulatorsrepository at the root level, which will be discovered automatically by therun-emulatorandinvokecommands. (You should generally not need to modify this.)A FW workspace folder you specify, mounted in the container at
/workspace.A
tasks.pyfile at the root level, which provides a simplified set of commands for interacting with the emulator/injector APIs via theinvokeutility. See the list of emulator commands for more details.
Prerequisites
- VS Code
- Extensions:
Dev Containers
Setup and Configuration
SSH into Remote Dev Server
First using VS Code we need to connect to the server that will run the FW development container.
Note
This will only need to be done once or when using a new remote server.
Open VS Code
Check that the
Dev Containersextension is installed by clicking theExtensionsicon from the side menu bar.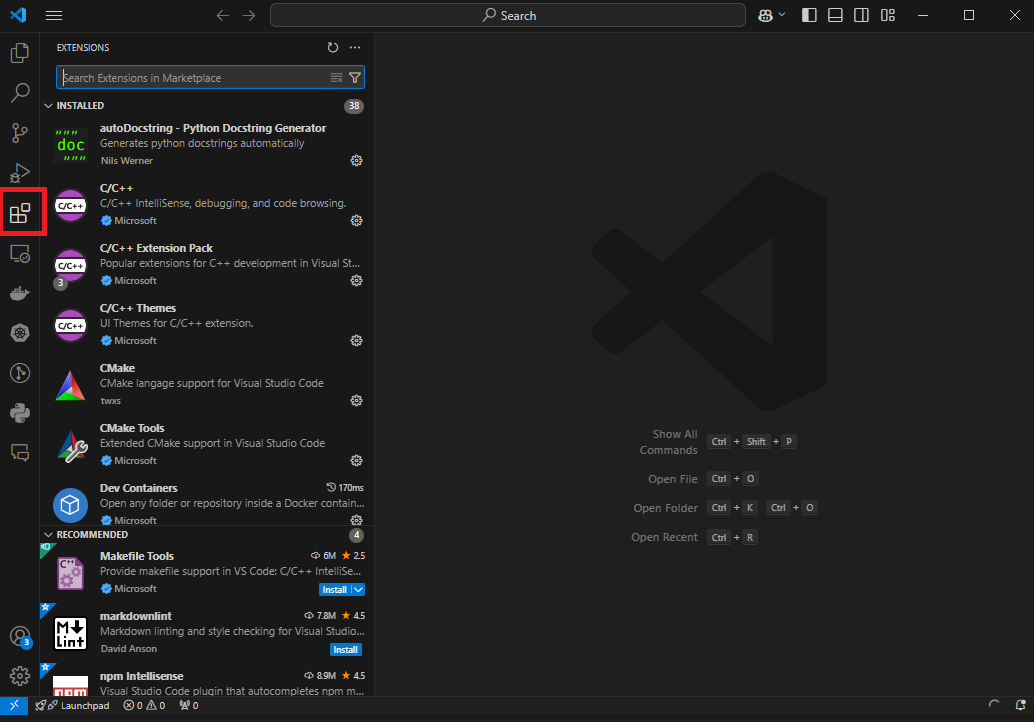
Note
If it’s not installed, search for it using the
Extensionssearch and click install.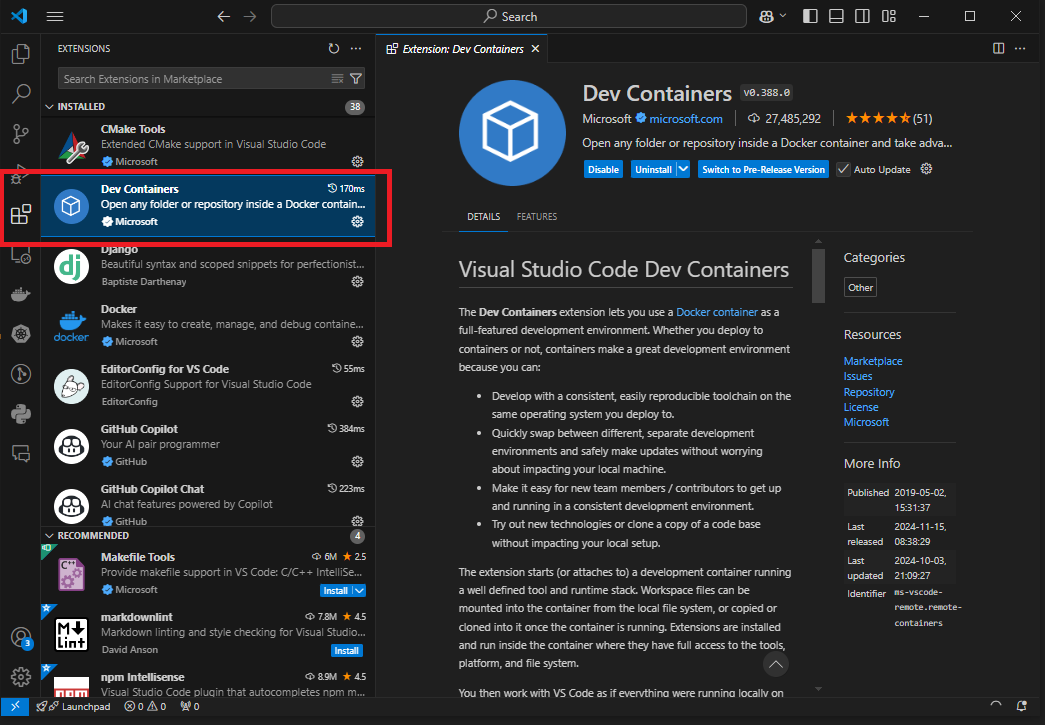
Open the
Remote Explorerfrom the side menu.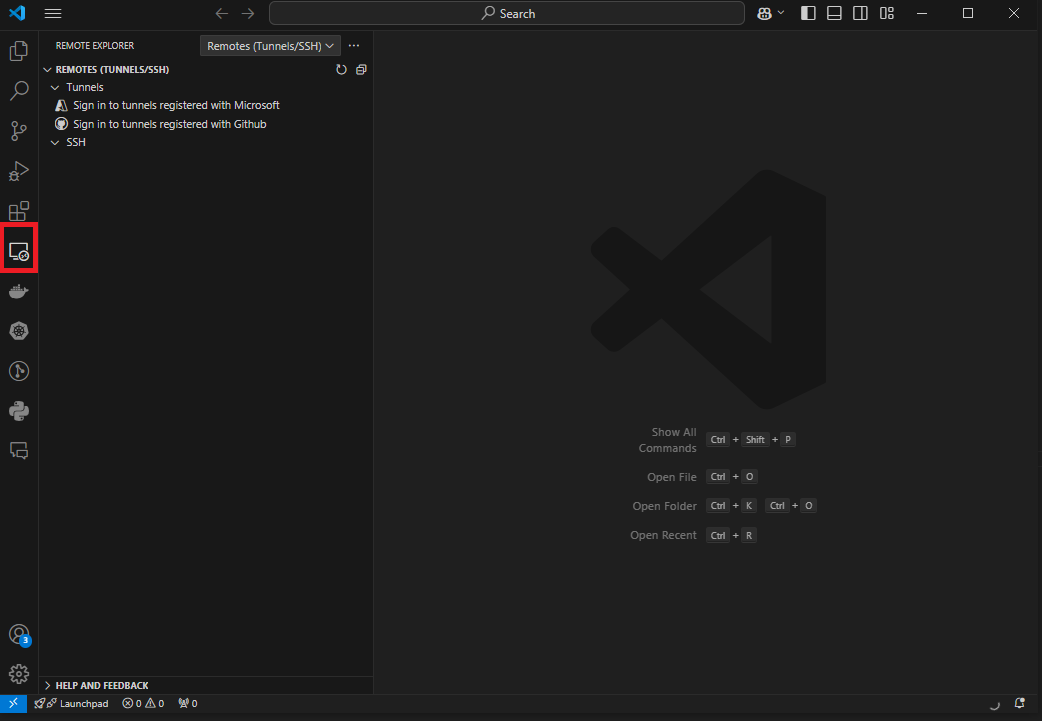
Select
Remotes (Tunnels/SSH)from the top right dropdown.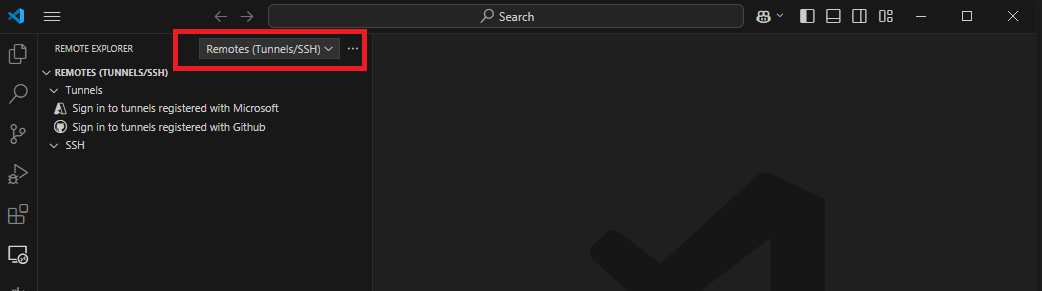
Add a new SSH Connection using the
+icon next toSSH.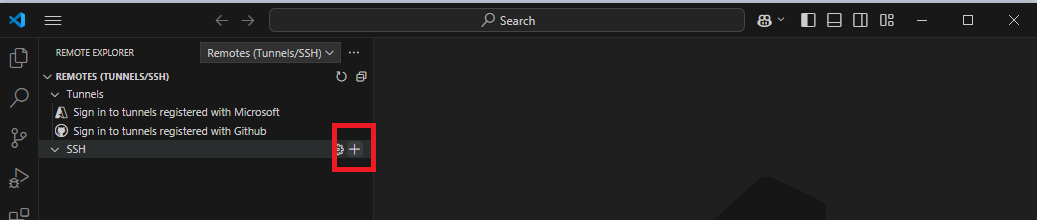
Enter username and remote address for SSH connection, e.g.:
<username>@rmdskadevdu002.mda.ca
Next, select the SSH config file in your users directory to update.

Connect to the server by clicking the
Connect in Current WindoworConnect in New Windowoption.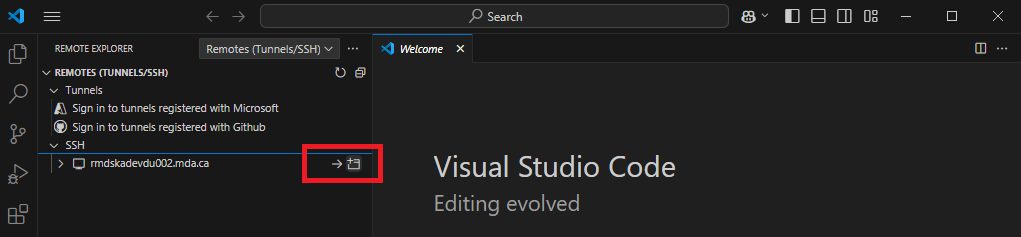
Once inside, open the explorer from the side menu and
Open Folderon the server.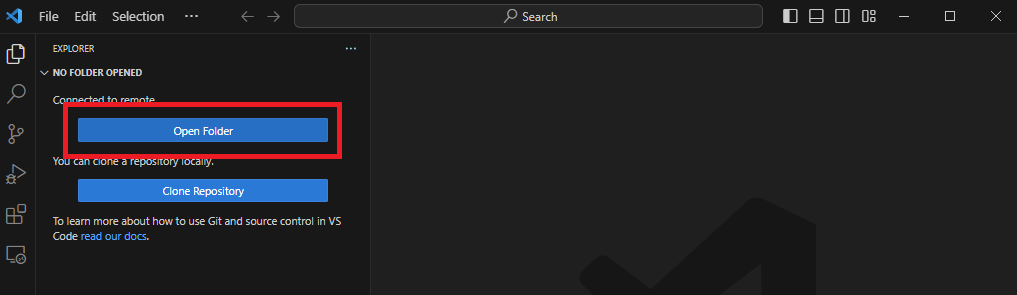
Starting the FW Dev Container
Initially after you have SSH’d into the remote server, you have to clone the project and start up the FW Dev Container.
Note
If you have already cloned and started the FW dev container, skip to the next section: Attaching to the FW Dev Container.
Run the following to clone the
ska-mid-cbf-emulatorsproject:git clone https://gitlab.com/ska-telescope/ska-mid-cbf/infra/ska-mid-cbf-emulators
Navigate inside the
ska-mid-cbf-emulatorsproject and run the following to initiate the makefile:git submodule init git submodule update
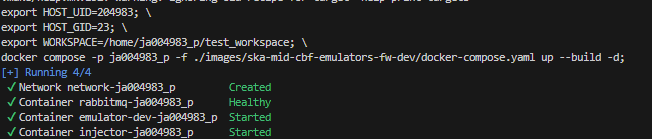
Run the following to start the FW dev container:
make run-fw-devwhich will prompt you for your workspace location and the name of the persona that was used to generate the workspace (this should match the name of the persona folder inside the workspace folder). Alternatively, you can specify them all in one command:
make run-fw-dev WORKSPACE=<path to your workspace> PERSONA=<name of the persona used to generate the workspace>
Note
The default workspace location is
~/workspace, and the default persona name isska_vcc_persona.If successful, the following should be displayed in the terminal:
Attaching to the FW Dev Container
Press
Ctrl-Shift-PorF1from within VS Code to open the command search prompt.Search for the following and run it from the opened prompt:
Dev Containers: Attach to running container...
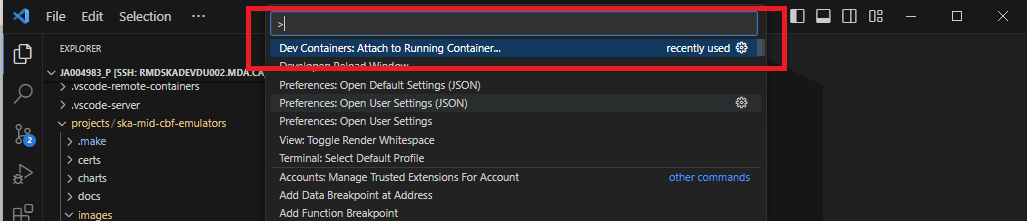
Attach to the container named
/emulator-dev-<your user name>
Note
The following steps from 4 - 6 only need to be performed once, on the initial run of the FW dev container.
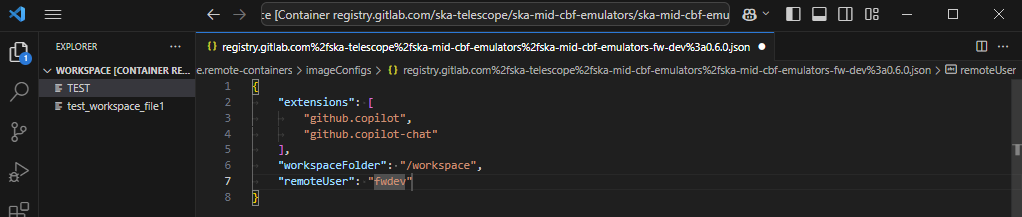
If this is the first time attaching to the container, one extra step must be completed. Press
Ctrl-Shift-PorF1to open the command search prompt.Search for and run the following command:
Dev Containers: Open Container Configuration File

In the configuration file, add the following extra item to the list and save. This will make it so any files you create / save will match your user on the host machine, as the
fwdevuser is set up to match your user’s UID and GID:"remoteUser": "fwdev"
To finish enabling the
fwdevuser, close the VS Code window that’s attached to the container, and then re-attach it following from step 1.
Running an Interactive Shell
To run an interactive shell inside the dev container, from the dev server running the container, run:
docker exec -it emulator-dev-<your username> bash
OR if within the emulators repository, you can run:
make enter-fw-dev
Running the Emulator
Firstly, you need to make sure you have a valid emulator configuration file available.
This should be located at $WORKSPACE/$PERSONA/emulator/config.json (e.g. path_to/my_workspace/ska_vcc_persona/emulator/config.json); if you haven’t specified a valid persona, however,
or if the specified persona does not contain emulator/config.json, then the emulator will attempt to fall back to $WORKSPACE/config.json if it exists (you must create this yourself in this instance).
For details about the emulator configuration file, see Bitstream Emulator Configuration.
Once any changes to the IP block emulators have been made and you would like to test them, from within the FW dev container you can start the bitstream emulator by running the following:
run-emulator [options]
This will spin up the emulator engine and automatically pull in your changes from the /workspace directory. See Run the emulator in the dev environment or use –help for the list of allowed options.
Note
For changes to be applied, you must terminate and restart the bitstream emulator.
Once the bitstream emulator is running, please see the following list of emulator commands for some commands you can send to the emulator and/or injector APIs from within the FW dev container.
Teardown
Note
This is to be performed from the server you are SSH’d into, not the FW dev container.
If open, close the attached dev container VS Code window, then from the server you’re SSH’d into, navigate into the
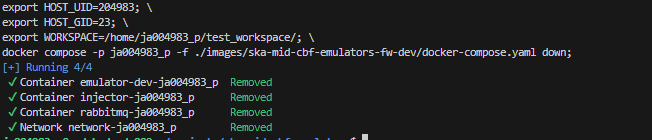
ska-mid-cbf-emulatorsproject.Run the following to shut down the FW dev container:
make remove-fw-devOn successful shutdown, the output to the terminal should be as follows: