Continuous Integration
Creating a new CICD project
GitLab CI/CD can be used with GitHub or any other Git server. Instead of moving your entire project to GitLab, you can connect your external repository to get the benefits of GitLab CI/CD (documentation pages for github can be found here).
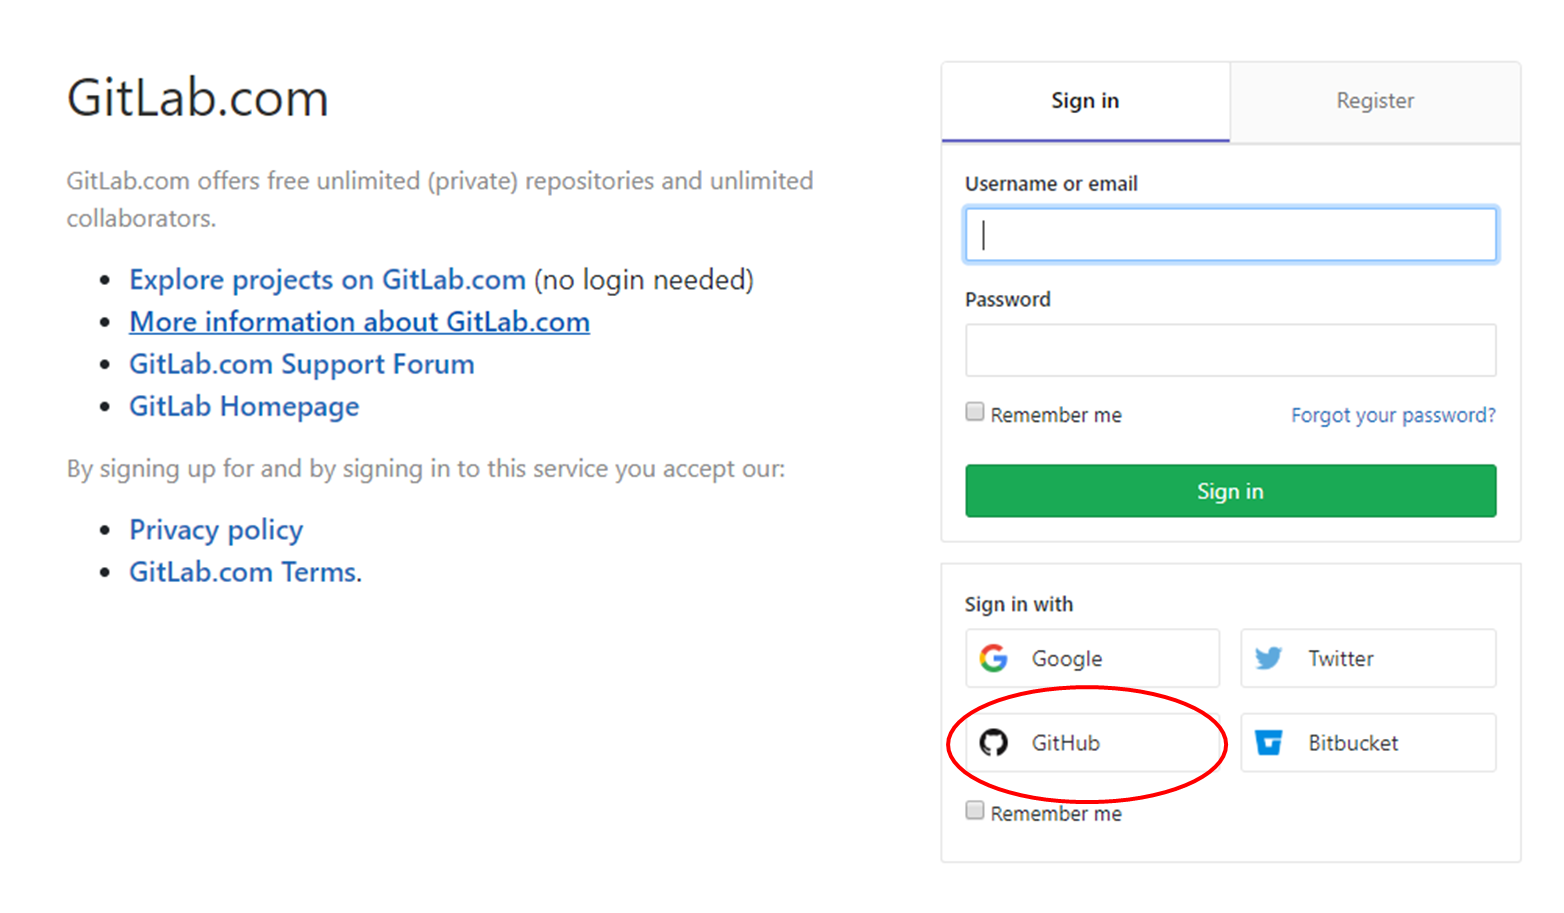
In order to do that, the very first step is to create an account in GitLab. It is recommended to sign_in with the GitHub account. for any information or requests on those aspects, please contact the SCRUM master of your agile team.
Once logged, the home page allows for the creation of a new project (see images below).

The new project page allows to create a project (CI/CD) from an external repository.

The step-by-step procedure is the following:
- Select the option “Repo by URL”,
- Write the repository url (i.e. https://github.com/ska-telescope/ska-skeleton.git),
- Select a project name (for instance ska-skeleton-ci),
- Select the correct ska group (i.e. ska-telescope),
- Select/write a project slug (URL-friendly version of a repository name) and
- Insert a project description.

It is also possible to set the visibility of the project (the default is public).
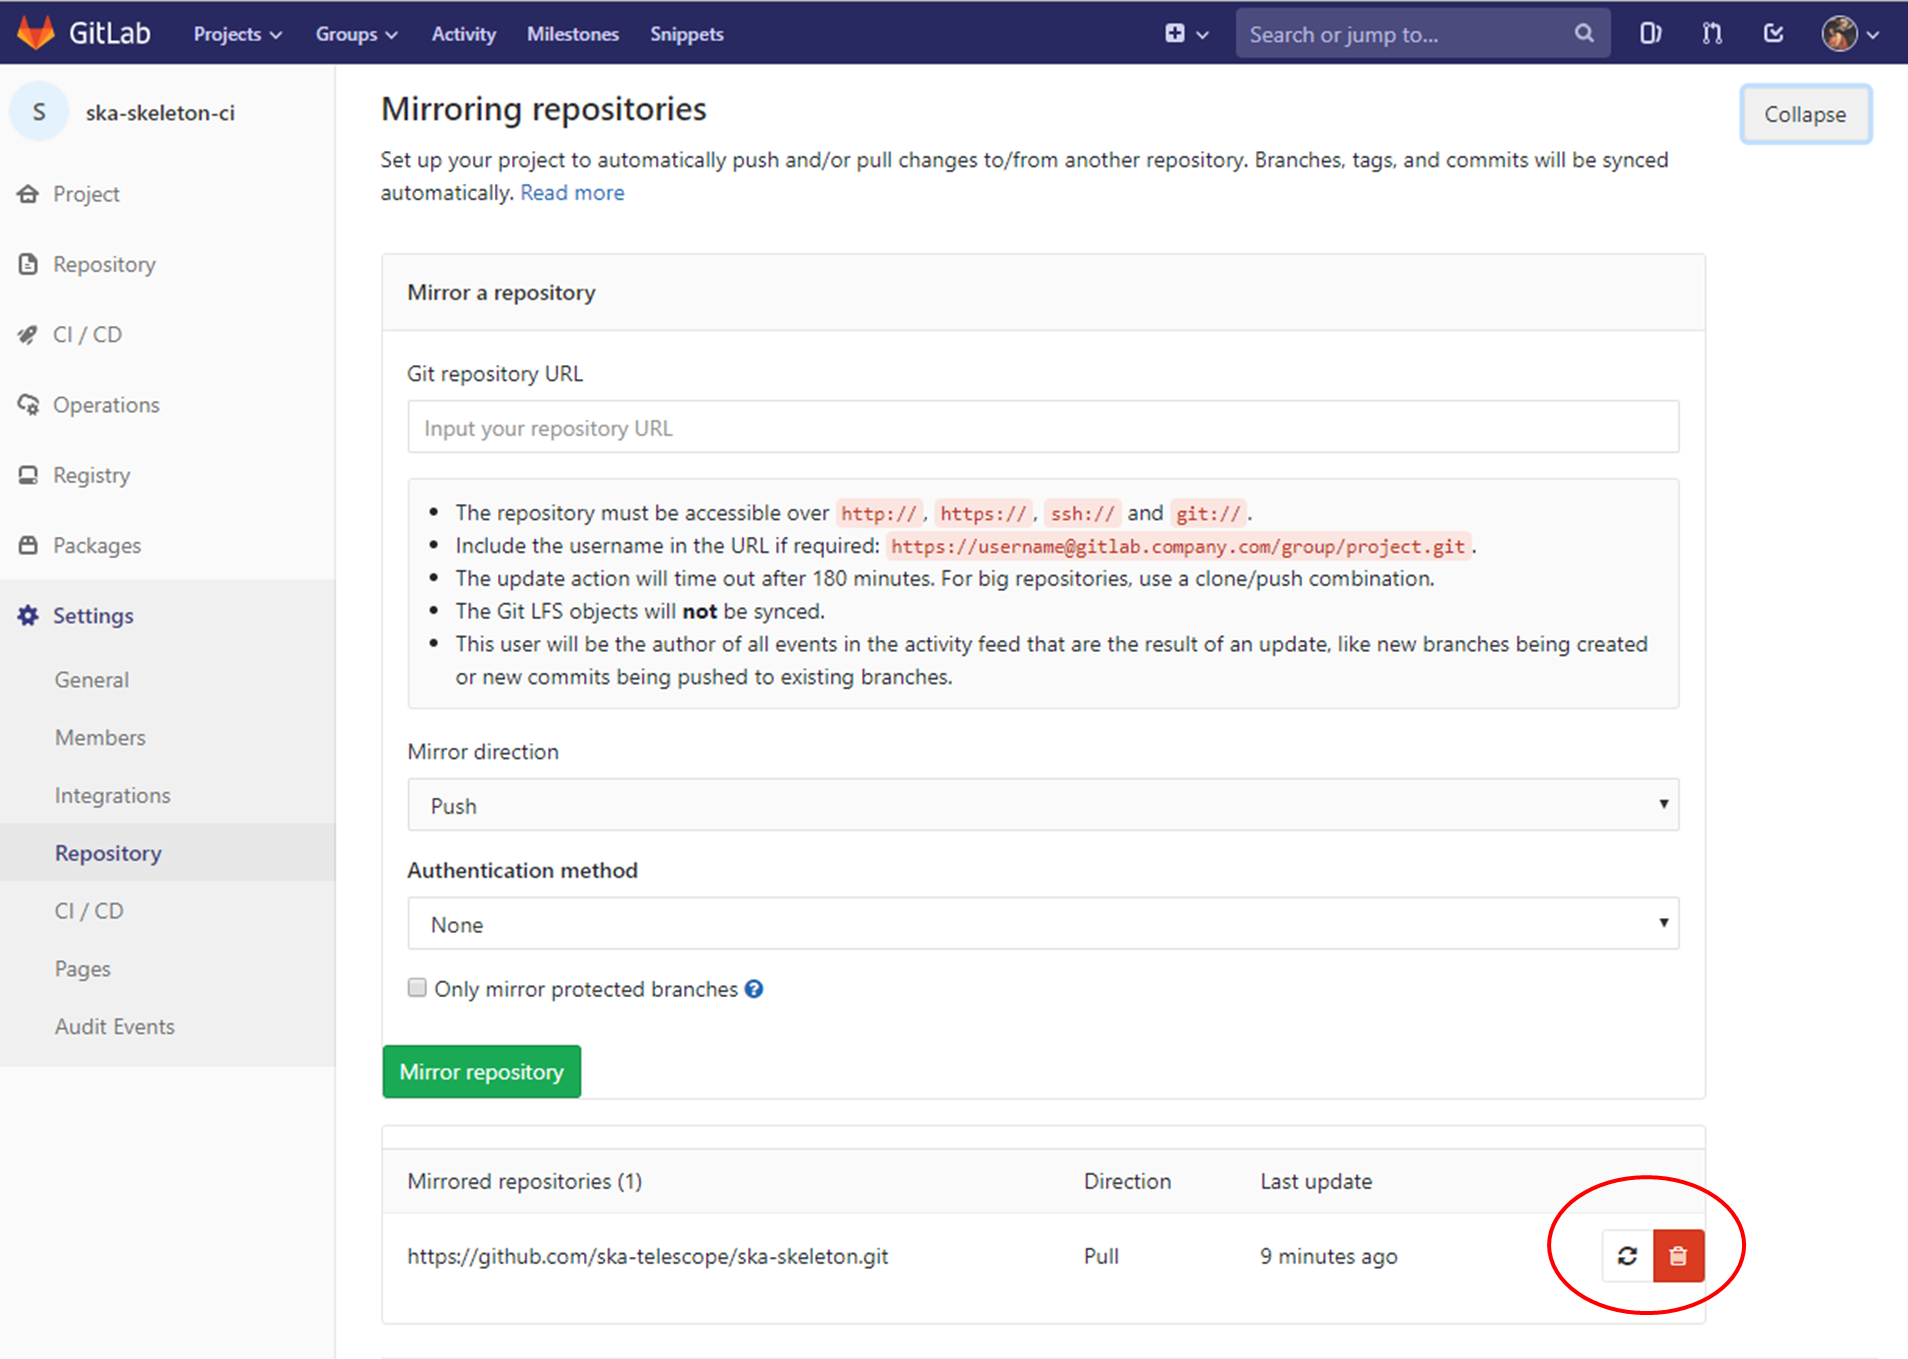
Connecting an external repository will set up repository mirroring (it is indicated in the GitLab project home page) and create a lightweight project where issues, merge requests, wiki, and snippets disabled.

Concerning mirroring, it is important to note the following points:
- Once you activate the pull mirroring feature, the mirror will be inserted into a queue. A scheduler will start every minute and schedule a fixed amount of mirrors for update, based on the configured maximum capacity.
- If the mirror successfully updates it will be enqueued once again with a small backoff period.
- If the mirror fails (eg: branch diverged from upstream), the project’s backoff period will be penalized each time it fails up to a maximum amount of time
- You should not push commits directly to the repository on GitLab. Instead, any commits should be pushed to the upstream repository. Changes pushed to the upstream repository will be pulled into the GitLab repository, either:
- Automatically within a certain period of time.
- When a forced update is initiated.
The update can be forced with the specific button in the repository settings:
Configuring a CI pipeline
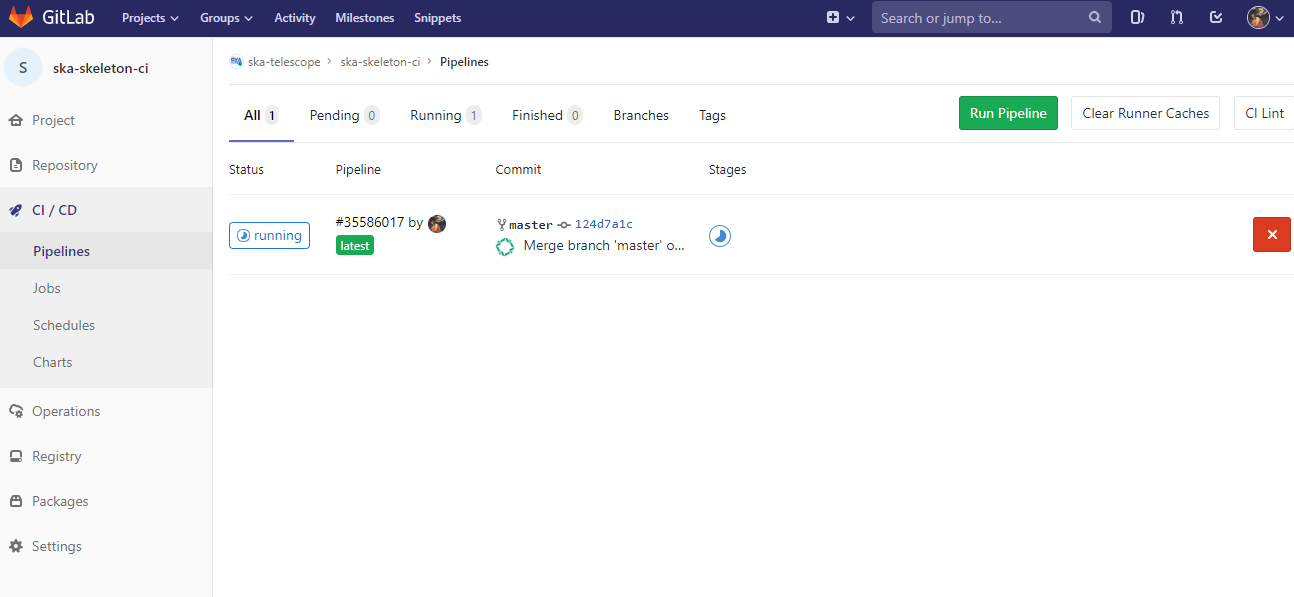
To enable the Gitlab automation, it is needed to insert a configuration file that must be placed in the root of the repository (i.e. GitHub) and called “.gitlab-ci.yml”. It mainly contains definitions of how your project should be built. An example of it can be found within the project “ska-skeleton” available here. Once the file is in the root directory, it is possible to run the CI pipeline manually (creating a pipeline) or with a commit in github as soon as the mirroring finishes. The following pipeline was created manually pressing the button “Run pipeline” on a specific branch (i.e. master).
Using a specific executor
The pipeline by default will run with a shared runner made available from GitLab. It is also possible to assign specific ska runner to the project (by adding the tags). To do that the option must be enabled:

The EngageSKA cluster located at the Datacenter of Institute of Telecommunication (IT) in Aveiro provides some virtual machines available adding the tag “engageska” or “docker-executor” as shown here.